Winter's cold poses risks to homeowners, particularly with frozen water pipes causing costly damage. Early signs include persistent faucet dripping, indicating continuous water movement through vulnerable pipes. Insulate exposed pipes near temperature extremes and in areas like exterior walls, attics, or uninsulated crawl spaces using materials like fiberglass, foam, or wool to prevent freezing and protect plumbing during winter months.
As temperatures drop, protecting your home’s plumbing from freezing is crucial. Insulating pipes is an effective way to prevent a faucet from dripping and costly damage caused by frozen water lines. This guide will walk you through understanding the risks of winter freezing, identifying vulnerable pipes, choosing the right insulation materials, and properly installing pipe insulation to keep your home safe and warm all season long.
- Understand Freezing Risks in Winter
- Identify Pipes Most At Risk for Freezing
- Choose Suitable Insulation Materials
- Effectively Install Pipe Insulation
Understand Freezing Risks in Winter

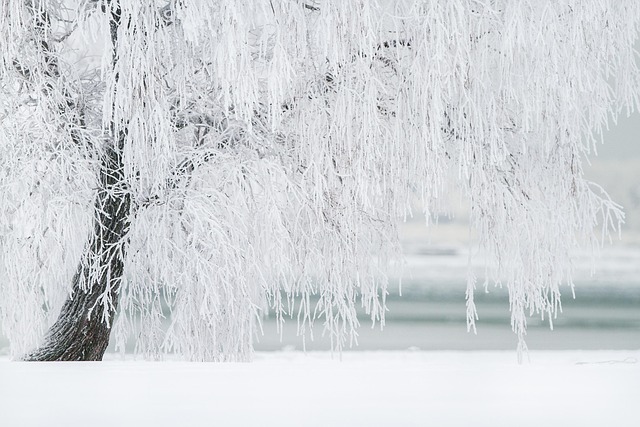
Winter brings a unique set of challenges for homeowners, especially regarding water pipes. Freezing temperatures can turn once-flowering veins into solid blocks of ice, leading to costly damage and inconveniences. Understanding the risks associated with freezing is the first step in preventing this winter woe.
One common sign of potential pipe freeze-up is a dripping faucet, even when all taps are turned off. This subtle leak indicates that water is continuously moving through the pipes, making them more susceptible to freezing. Other factors like poor insulation, exposed pipes, and cold air drafts can also accelerate the freezing process. By identifying these risks early, homeowners can take proactive measures to insulate their pipes and safeguard their properties from potential winter damage.
Identify Pipes Most At Risk for Freezing

In cold climates, certain pipes are more susceptible to freezing than others. The most at-risk pipes are typically those exposed to extreme temperature drops and located in areas like exterior walls, attics, or uninsulated crawl spaces. These include water supply lines to sinks, faucets, and outdoor hoses, as well as drain pipes. If you notice a faucet dripping even during mild weather, it could be an early sign that the surrounding pipes need better insulation.
Pay close attention to pipes that run alongside exterior walls or under insulation gaps. These areas offer little protection from freezing temperatures. Insulating these vulnerable sections with appropriate materials like foam pipe insulation or heating tape can prevent water from freezing and bursting pipes, ensuring your plumbing system remains reliable during winter months.
Choose Suitable Insulation Materials

When it comes to choosing insulation materials for your pipes, opt for products designed specifically for outdoor or cold-weather applications. These materials should provide excellent thermal resistance and protection against moisture. Fiberglass insulation is a popular choice due to its affordability and effectiveness. It creates a barrier that traps heat inside the pipe, preventing freezing. Alternatively, foam insulation offers superior R-values, making it ideal for extreme cold climates. This type of insulation also comes in various forms, including rigid boards and flexible tubes, allowing you to accommodate different pipe sizes.
Remember, the goal is to maintain a consistent temperature within the pipes, especially near faucets that are prone to dripping in freezing conditions. By selecting the right insulation, you can ensure your plumbing remains intact during winter. Consider the environmental factors and choose materials that offer long-term protection, ensuring your pipes remain safe from freezing temperatures.
Effectively Install Pipe Insulation

To ensure effective pipe insulation, follow these steps for proper installation. First, choose the right type of insulation based on your pipes’ material and temperature exposure. Foam, fiberglass, or wool insulations are popular choices due to their excellent thermal resistance. Next, measure the length of pipes that require insulation to ensure you have enough material. Cut the insulation to fit snugly around each pipe, leaving a small gap for expansion. Apply a suitable adhesive or mechanical fastener to secure the insulation in place, ensuring no air pockets form. For areas with exposed pipes like faucets or drippings, prioritize insulation to prevent freezing and subsequent damage.